


Maximize Efficiency with the Best Teacher Planner: Digital Planning for Teachers

Managing a classroom, preparing lessons, and keeping track of student progress can feel overwhelming. I’ve found that using a well-designed teacher planner can make a huge difference. It helps me stay organized, save time, and focus on what matters most - teaching. In this post, I’ll share practical tips and insights on how to maximize efficiency with the best teacher planner, especially through digital planning for teachers.
Why Digital Planning for Teachers Works So Well
Digital planning has transformed how I organize my teaching schedule. Unlike paper planners, digital tools offer flexibility, easy updates, and accessibility from anywhere. Here’s why digital planning for teachers is a game-changer:
Instant Updates: I can quickly adjust lesson plans or schedules without messy erasing or rewriting.
Easy Access: Whether I’m at school, home, or on the go, I can open my planner on my phone, tablet, or computer.
Integrated Resources: I link lesson materials, student data, and calendars all in one place.
Eco-Friendly: No paper waste means a smaller environmental footprint.
For example, when a last-minute school event pops up, I simply drag and drop my lesson plans to a new date. This saves me time and reduces stress.

How to Choose the Right Teacher Planner for Your Needs
Selecting the right planner is key to maximizing efficiency. Here’s a step-by-step guide to help you pick the best fit:
Identify Your Priorities: Do you need space for daily lesson plans, attendance tracking, or student notes? Make a list.
Consider Format: Would you prefer a printable planner, an app, or a web-based tool?
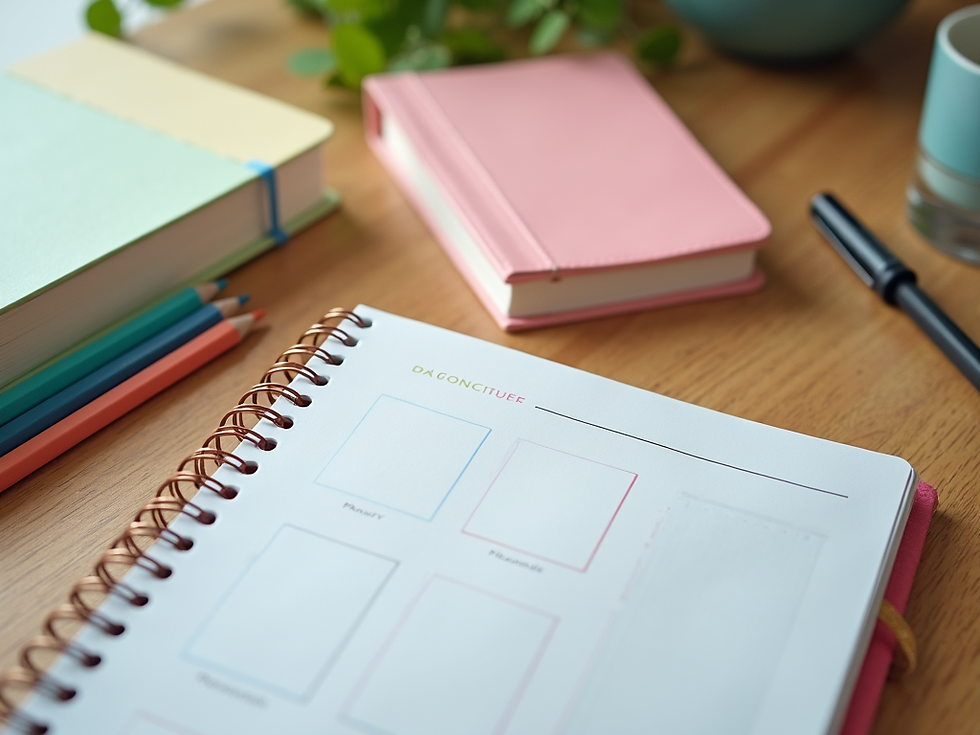
Look for Customization: The best planners let you tailor sections to your teaching style and subjects.
Check Compatibility: Ensure the planner works on your devices and syncs with your calendar apps.
Read Reviews: See what other educators say about usability and features.
For instance, I needed a planner that allowed me to track both lesson objectives and student progress. I found one that offered customizable templates and easy calendar integration.
Organizing Your Day with a Teacher Planner
A teacher planner is most effective when used daily. Here’s how I organize my day step-by-step:
Morning Review: I start by reviewing my schedule and goals for the day.
Lesson Planning: I outline each lesson’s objectives, materials, and activities.
Student Tracking: I note attendance, participation, and any special observations.
To-Do List: I keep a running list of tasks like grading, parent communication, and prep work.
Reflection: At day’s end, I jot down what worked well and what needs adjustment.
Using this routine helps me stay focused and proactive. It also creates a record I can refer back to for future planning.
Tips for Maximizing Efficiency with Your Planner
To get the most out of your teacher planner, try these practical tips:
Set Weekly Goals: Define what you want to achieve each week to stay motivated.
Color Code: Use colors for subjects, priorities, or types of tasks to quickly scan your planner.
Use Reminders: Set alerts for important deadlines or meetings.
Incorporate Breaks: Schedule short breaks to recharge and avoid burnout.
Review Regularly: Spend time each week reviewing your planner to adjust plans and celebrate progress.
For example, I use green for science lessons and red for urgent tasks. This simple system helps me quickly identify what needs attention.

How Digital Tools Enhance Teacher Planning
Digital tools offer features that paper planners can’t match. Here are some ways they enhance planning:
Templates and Automation: Pre-made templates save time, and automation can fill repetitive tasks.
Collaboration: Share plans with colleagues or parents easily.
Multimedia Integration: Attach videos, links, and documents directly to lesson plans.
Data Analysis: Track student progress with charts and reports.
Backup and Security: Your plans are safely stored in the cloud, preventing loss.
If you want to explore options, I recommend checking out the best digital teacher planner that fits your style and needs.
Making Planning a Habit for Long-Term Success
The key to maximizing efficiency is consistency. Here’s how to make planning a habit:
Set a Planning Time: Dedicate a specific time each day or week for planning.
Start Small: Begin with basic entries and gradually add details.
Stay Flexible: Adapt your planner as your needs change.
Celebrate Wins: Acknowledge when planning helps you save time or improve lessons.
Seek Support: Join teacher communities to share tips and ideas.
By making planning a regular part of your routine, you’ll find it easier to stay organized and focused throughout the school year.
Empower Your Teaching with Effective Planning
Using a teacher planner is more than just organizing tasks - it’s about empowering your teaching. When you plan efficiently, you create a smoother classroom experience and more engaging lessons. This benefits your students by providing structure and clarity, helping them succeed.
Remember, the right planner can reduce stress and free up time for creativity and connection with your students. Whether you choose a digital or paper planner, the goal is to find a system that works for you and supports your teaching journey.
Start today by exploring your options and setting up your planner. You’ll be amazed at how much more efficient and confident you feel.
I hope these tips inspire you to maximize your efficiency with the best teacher planner. Happy planning!








Comments